
VIOFO A229 Pro Dual Channel Review: Detail Worth Paying For
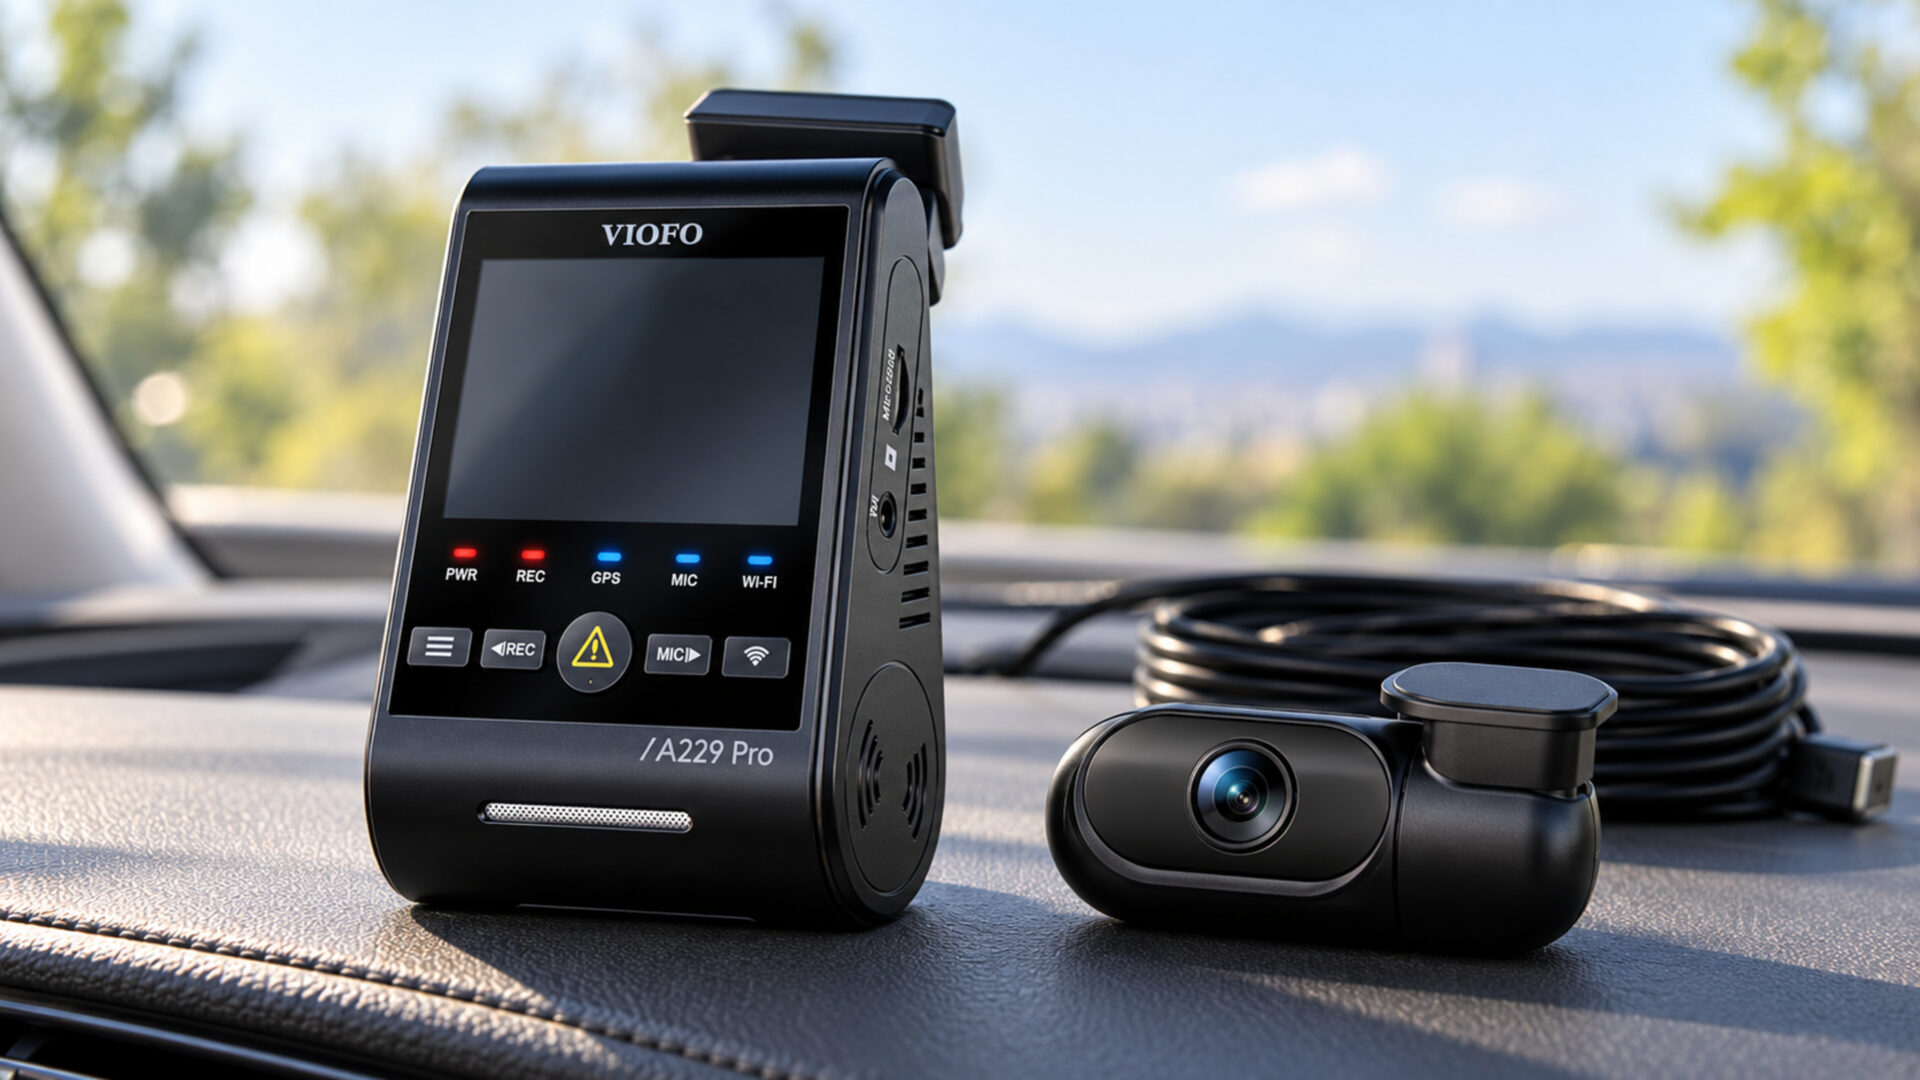
Rear footage deserves more attention than it often gets when shopping for a dash cam. The VIOFO A229 Pro Dual Channel pairs a 4K front camera with a 2K rear camera for drivers who want useful detail in both directions. Its strongest appeal is the emphasis on recording quality rather than extra cabin views. The price, rear-cable installation, and separate parking-power accessories make it a more deliberate purchase than a basic front camera.
Pros
- 4K front and 2K rear recording give both directions meaningful attention.
- STARVIS 2 sensors and HDR support difficult lighting conditions.
- A screen, voice control, and local Wi-Fi provide several ways to operate the system.
Cons
- The dual-channel bundle does not record the cabin.
- Rear-camera wiring takes more planning than a front-only installation.
- A compatible memory card and parking-power setup add to the budget.
The Rear Camera Is Part of the Main Attraction
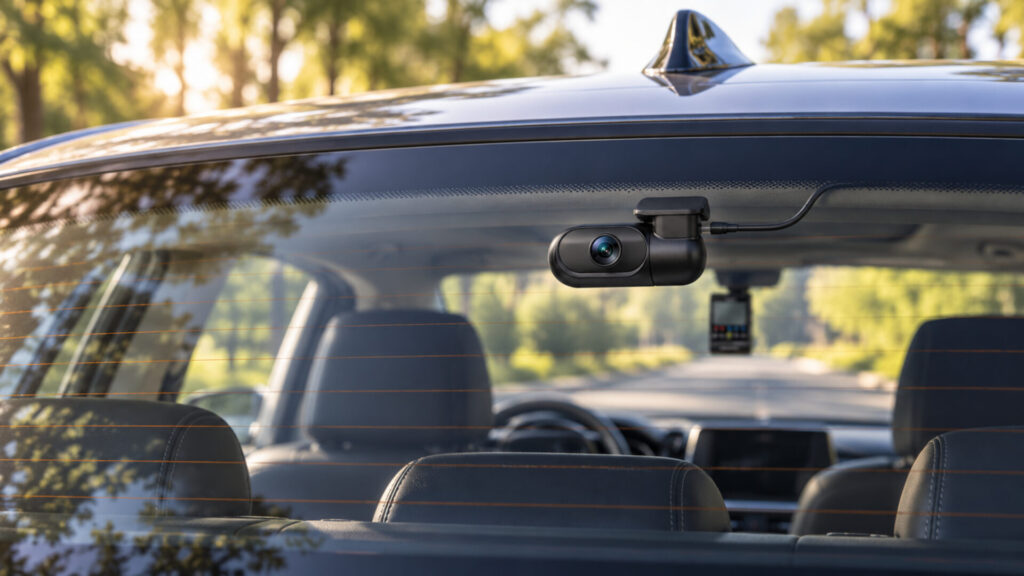
This is a two-camera system with distinct jobs. The front unit records the road ahead at 3840 by 2160, while the rear camera records at 2560 by 1440. Both operate at 30 frames per second in this configuration. That gives the rear view more resolution than the 1080p rear cameras common in less expensive bundles.
The practical benefit is additional room to examine detail behind the car. A rear recording can show how closely another vehicle followed, how it approached, or what happened before a collision. Those events may be difficult to reconstruct from a front camera alone. Resolution cannot resolve every plate, but paying attention to both directions is a sound reason to consider this system.
Vortex Radar’s side-by-side work found stronger detail from the A229 Pro than the ROVE R2-4K DUAL, including a substantial difference at the rear. That is a specific test result, not a promise about every road or lighting condition. It does support choosing the VIOFO when image detail is a higher priority than minimizing the cost of the bundle.
The dual-channel version does not include an interior recording view. That is perfectly sensible for many private vehicles, where road coverage is the main goal. If passenger interactions are an important part of your work, consider a system designed around a cabin camera instead. Buying a strong two-camera kit does not make it a three-camera kit through software settings.
Good Sensors Still Need a Good View Through the Glass
The front and rear cameras use Sony STARVIS 2 sensors, with HDR available to handle scenes containing bright and dark areas. The intended payoff is usable recording in challenging light, such as a vehicle moving between shadow and sunlight or headlights reflecting from nearby surfaces. It remains important to judge the resulting video rather than treating a sensor label as the whole story.
A front circular polarizing filter is included. Adjusting it can reduce dashboard reflections in the windshield, but it will not remove every reflection under every condition. Check the image after adjustment and again after changing the camera angle. A filter that is poorly aligned can leave the distracting reflection you were trying to reduce.
Rear glass creates its own complications. Tint, dirt, moisture, and window elements may reduce what the camera can see. Position the lens with the vehicle’s actual rear view in mind, then examine a recording on a computer. A more capable camera still benefits from clean glass and careful framing; it cannot recover a subject that is hidden behind a sticker or blocked by cargo.
Do not expect 4K recording to freeze every fast-moving plate at night. A wide scene spreads detail across the frame, and available light affects motion rendering. For a useful acceptance check, review several ordinary trips rather than one flattering still image. Look for a clear account of traffic movements and road conditions as well as the smallest text you can identify.
Plan the Wiring Before Applying the Mounts
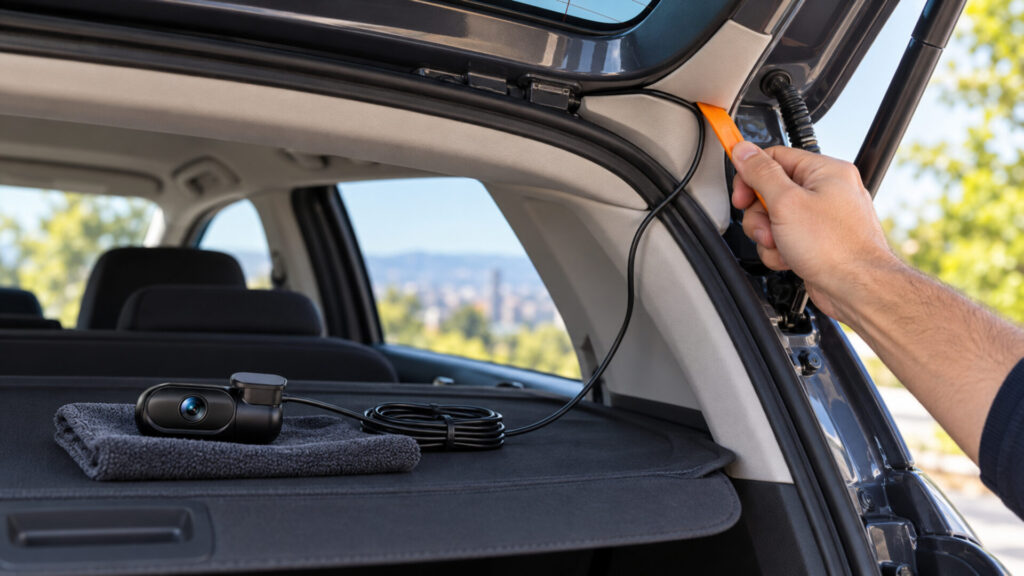
Set aside time for the rear cable. A sedan, hatchback, and SUV can require different routing decisions, particularly where a moving hatch meets the fixed body. Before attaching the cameras permanently, confirm that the cable reaches comfortably and that the rear view remains useful with the vehicle closed and ready to drive. Avoid stretching a cable to make a preferred mounting spot work.
The 2.4-inch screen is useful for checking status and adjusting settings, although a phone preview can be easier to see while positioning the rear unit. The camera supports local Wi-Fi for transferring footage and changing settings. That connection is between nearby devices; it should not be confused with a built-in cellular connection or continuous remote monitoring.
Voice control offers another way to operate supported functions. It is still worth learning the physical controls and the recording indicators. In a noisy car, a spoken command may not be the most dependable way to confirm that a clip has been saved. Become familiar with the normal startup behavior so an unusual alert does not pass unnoticed.
After installation, drive a short route and review both cameras. Check the horizon, the amount of dashboard in the front picture, and the coverage behind the car. Repeat the check after any mount adjustment. The time spent on this first pass is worthwhile because a neatly installed camera can still be aimed poorly enough to miss useful parts of the scene.
Parking Settings and Storage Need a Separate Budget
Parking recording requires the appropriate power arrangement, such as the compatible HK4 hardwire kit. The kit is an additional purchase. Decide whether parked coverage is essential before comparing prices, because camera-only pricing does not represent the total cost of a hardwired system. Installation labor may also be relevant if you are not comfortable working with the vehicle’s electrical setup.
The available parking approaches include buffered event detection, time-lapse recording, and low-bitrate recording. They serve different priorities. A buffered event mode is useful when the lead-up to a detected event is important; time-lapse can provide a condensed record of a longer interval. Read the current instructions and verify your selected mode with the installed power kit rather than assuming all settings preserve the same kind of footage.
Choose a compatible endurance memory card and format it in the camera. Two high-resolution recordings create more data than a single basic stream. Storage capacity therefore affects how much recent driving remains available before loop recording replaces older files. Check real file sizes and retention on your own setup if you need to preserve a particular length of trip.
For important footage, save the relevant front and rear files somewhere separate from the camera. Keep an unedited copy before trimming a clip for sharing. A protected recording on the same card is not a second backup. Periodic checks of recent files, card status, and recording alerts are a better ownership habit than installing the hardware and forgetting it exists.
Should You Buy the VIOFO A229 Pro Dual Channel?
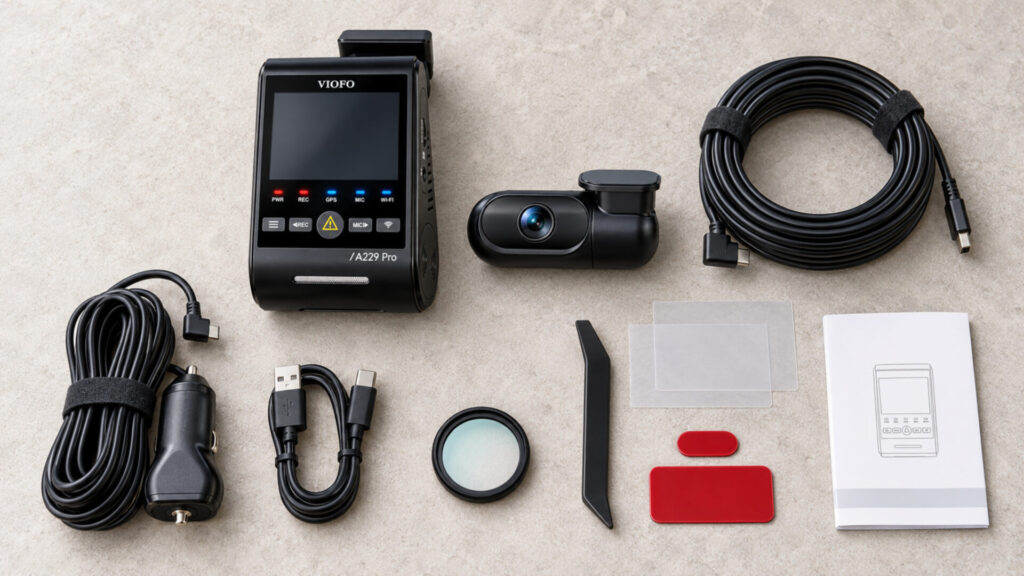
This is a strong choice when front-and-rear recording quality justifies spending more and you are prepared to complete the installation properly. The rear camera is central to that recommendation. It is especially appealing to drivers who want a more detailed account of surrounding traffic without adding a cabin lens they do not need.
For a smaller budget and a single forward view, the MIOFIVE S1 is a simpler alternative. The best dash cams comparison separates those needs from passenger-focused systems. Choose the VIOFO A229 Pro Dual Channel if better-balanced road coverage is worth the extra cost, wiring, and storage attention.